Testing a FlatSat Functions Using the REPL
So, you just got all the parts for a PROVES Kit! What now?
Guide Version Control
Version Number: V0 * Written By: Michael Pham * Published May 14, 2025 * Estimated Time to Complete: 20 minutes
Dev Enviroment Used:
* MacOS
* Tabby Terminal Software
* pysquared v2.0.0-alpha-25w20
* Flight Controller Board V5a
* XY Solar Panel V2
The good news is that it is easier than ever to get things running and code tested. This guide presumes that you have already setup a developer enviroment on your computer and have a built engineering unit or "FlatSat" wired up in front of you. That should look something like the attatched Figure 1.
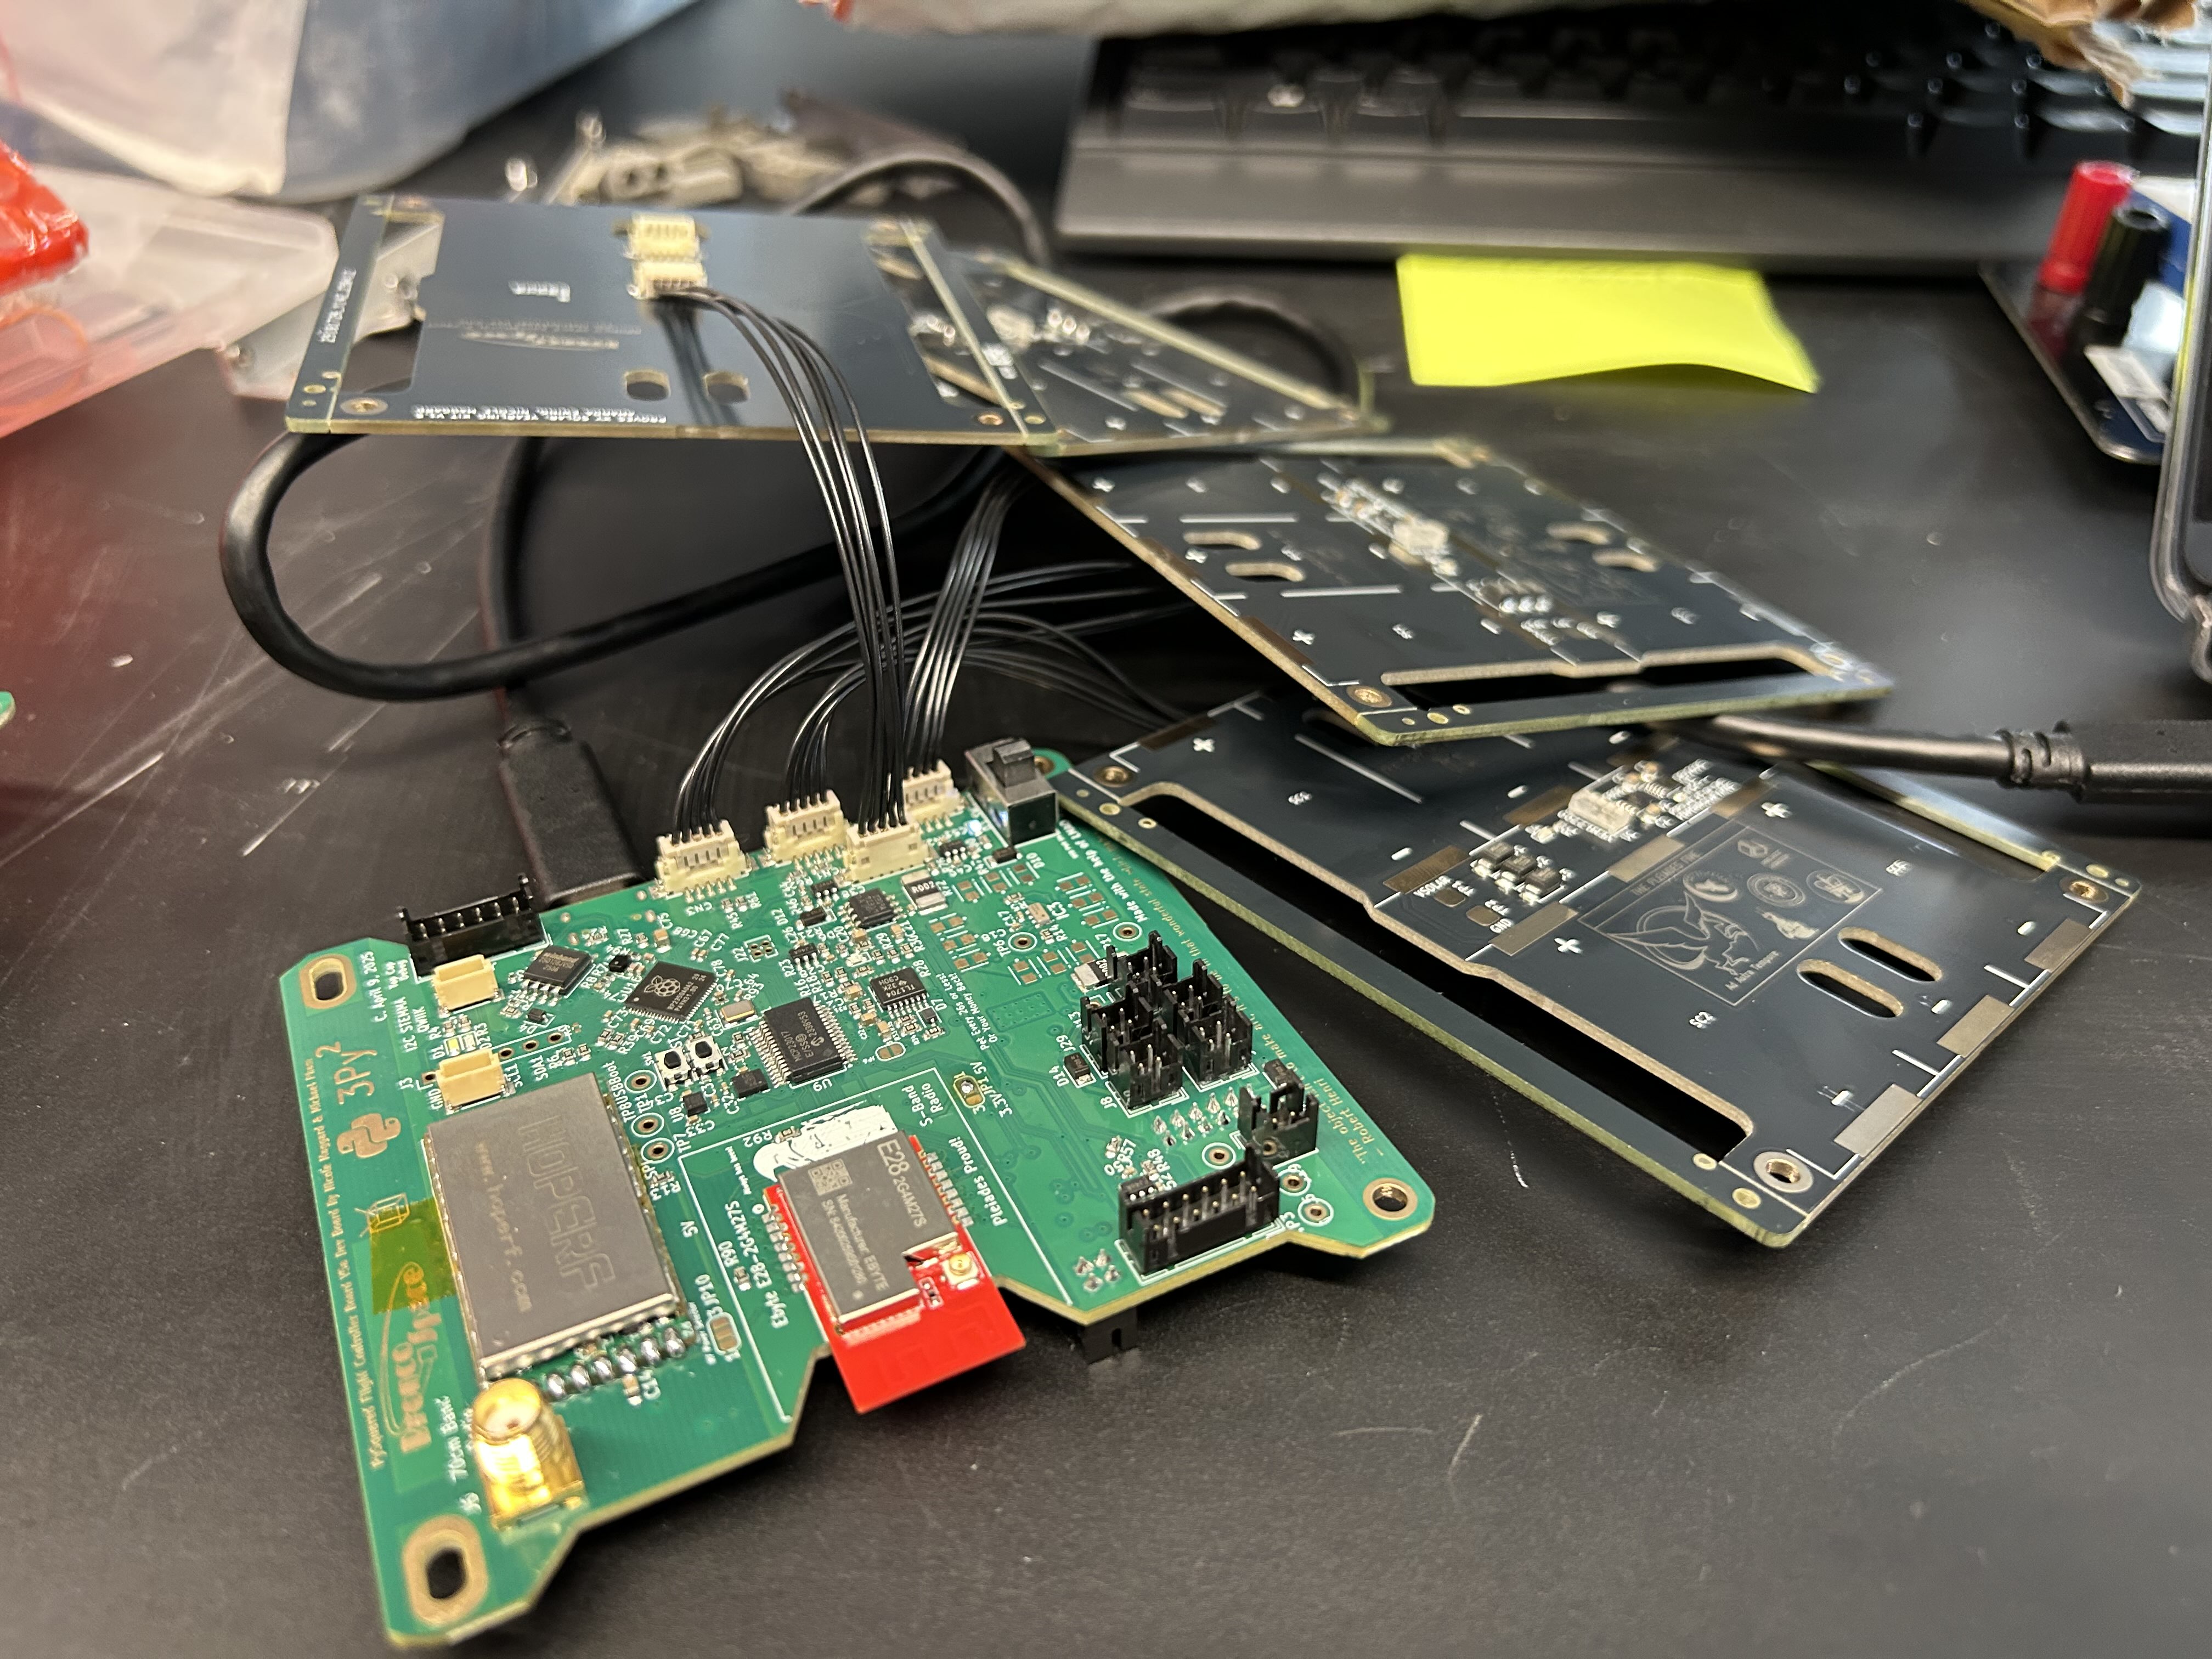
Figure 1: Example FlatSat From Columbia
Step 1: Connecting to the Flight Controller Board
There should just be a single USB-C for you to plug into with your computer. From here opening a serial terminal using your preferred software will get you hooked up with the board's CircuitPython Enviroment. The baud rate doesn't really matter just choose something bigger than 9600.
Time Sensitive Serial Connection with RP2350
If you are using a V5a+ board, you'll need to open this serial connection within about 13s of board power up. The reason for this is explained in the following GitHub issue:
[BUG] Use of PySquared safe_sleep Disables USB Connections #4
Once you are connected to the Flight Controller Board try using Ctrl+C to interrupt the code and then hit Enter to go into the REPL.
No Big Logger Output?
Logs will appear by default in a json format when our CircuitPython Flight Software is installed. If you don't see logs appear make sure you have actually installed software onto the board using your computer's development terminal!
Step 2: Try Out Some Predefined REPL Functions!
You can read through the reply.py for the V5a Reference to see all of the implemented functions, but we will highlight the use of a few of the more interesting ones here.
Sending a Radio Ping
Proper Usage of Amateur Radio Bands
By default the radios assembled onto the PySquared Flight Controller Boards are designed to work within the amateur radio bands. To transmit legally in these bands you (or someone helping you) must hold a current Amateur Radio License. Within config.json there is an is_licensed field that automagically blocks transmissions without affirmation that you hold a proper license.
If you wish to still test the radio system without a license, or licensed individual present, you can use attenuators or a dummy load to ensure that no unintended radio emissions are created.
Both radios on the V5a Flight Controller Board are setup in repl.py to use the same software radio protocol. As a result all you have to do to send a message is type into the REPL the following:
# Use of Radio2 is safer because it has an built in antenna
radio2.send("Hello World!")
# If you have an antenna attatched feel free to use the UHF radio
radio.send("Hello World!")
If you have a nearby SDR tuned to the right frequency or another radio set to a receive loop you should see your ping appear!
Power Cycling the Faces
If you have all of those solar panel faces hooked up to the flight controller board you can try using either of the following functions to turn them on or off. You should be able to see those fun LEDs cycle on and off with each command!
Getting Face Data
By default in repl.py the initialization of the TCA and all of the solar panel faces is disabled to avoid a barage of error messages when powering up the board without any solar panel boards attatched. Start by uncommenting it out in your dev enviroment and rerunning make install.
Once that updated code is installed into the board you can now get a readout of all the sensors on the solar panel faces using the following.
In the printout the first value in each grouping is the temperature and the second value is the light sensor readout. Try using a flashlight to see how the light sensor values change as you move across them!
Collecting Data Using a Loop
One of the really fun things you can do with the REPL is writing loops to dynamically collect data.
First we will want to import time this gives us access to time.sleep().
Next let's try printing the imu data inside of a while loop at a 2hz (twice per second) polling rate.
This should now print the accelerometer data from the IMU twice per second! Try tilting the board from side to side and seeing the values change.
Indenting in the REPL
If this is your first time using the REPL, you can go to a new line without sending the command by using Shift+Enter.
For a little more advanced readout you can print using an f string that takes the individual indices of the IMU output.